Let's explore this topic in more detail with Tiny Fishing below. Recording your iPhone screen can be an incredibly useful feature, whether you're creating a tutorial, capturing a funny moment, or troubleshooting an issue. Apple has made this process remarkably simple, allowing users to record their screens in just a few taps. This article will guide you through the process, offering tips and tricks to make the most of this handy feature. Whether you're a tech enthusiast, a young user, or an office worker looking to streamline your workflow, mastering screen recording on your iPhone can open up a world of possibilities.
Before you can start recording your screen, you'll need to ensure that the screen recording feature is easily accessible on your iPhone. This involves adding the Screen Recording button to your Control Center. Here's how to do it:
First, open the Settings app on your iPhone. Scroll down and tap on "Control Center." In the Control Center menu, you'll see a list of included controls and a section for more controls. Look for "Screen Recording" in the "More Controls" section. If it's not already in your included controls, tap the green plus icon next to "Screen Recording" to add it to your Control Center.
Once you've added the Screen Recording button to your Control Center, you're ready to start recording your screen. This simple setup process ensures that you can access the screen recording feature quickly whenever you need it. It's worth noting that this feature is available on iPhones running iOS 11 or later, so make sure your device is up to date.
Read more: Turn Your iPhone Into a Scanner with This Built-In Feature
Now that you've set up the Screen Recording feature in your Control Center, recording your screen is a breeze. Here's a step-by-step guide to help you get started:
1. Swipe down from the top-right corner of your screen (or up from the bottom on older iPhone models) to open the Control Center.
2. Locate the Screen Recording button, which looks like a solid circle inside another circle.
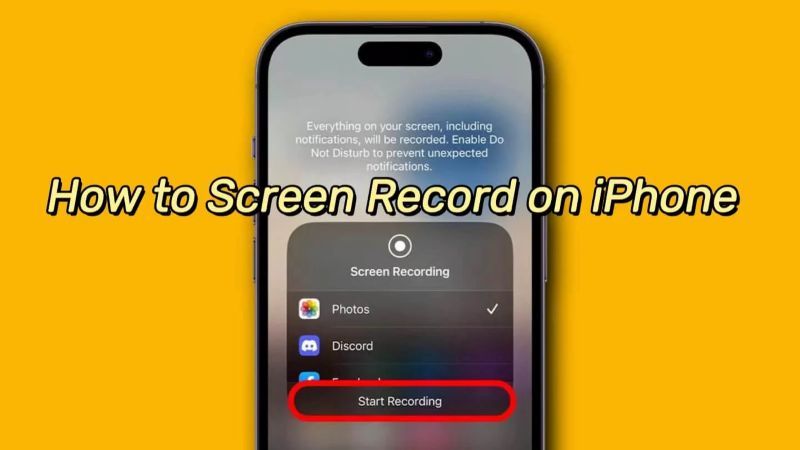
3. Tap the Screen Recording button. You'll see a three-second countdown before the recording begins.
4. Once the countdown ends, your iPhone will start recording everything on your screen, including any sounds your device makes.
5. To stop recording, you have two options. You can either tap the red status bar at the top of your screen and select "Stop," or you can open the Control Center again and tap the Screen Recording button.
After you stop the recording, you'll receive a notification that your screen recording video has been saved to your Photos app. It's that simple! With these easy steps, you can record your screen in seconds, capturing whatever you need with minimal effort.
While the basic screen recording process is straightforward, there are several advanced tips and tricks that can help you make the most of this feature. These techniques can enhance your recordings and provide more flexibility in what you capture.
By default, screen recordings capture the audio from your device, but not external audio. However, you can also record your voice or other external sounds along with your screen recording. To do this, press and hold the Screen Recording button in the Control Center. You'll see additional options appear. Tap the microphone icon to turn it on (it will turn red when active). This allows you to narrate your screen recording, which can be particularly useful for creating tutorials or explanations.
Before you start recording, you can customize various aspects of your screen recording. For instance, you can choose which apps can record your screen by going to Settings > Screen Recording and selecting the apps you want to allow. This can be helpful for privacy and security reasons.
Additionally, you can adjust your screen recording settings to include or exclude certain elements. For example, you can choose to hide or show notifications during your recording. To do this, go to Settings > Notifications > Screen Recording and adjust the settings according to your preferences.
After you've recorded your screen, you might want to edit the video to remove unwanted parts or add additional elements. The Photos app on your iPhone offers basic editing capabilities. You can trim the beginning or end of your recording, add filters, or adjust the video's exposure and other attributes.
For more advanced editing, you might want to consider using iMovie, which comes free with your iPhone. This app allows you to combine multiple clips, add text overlays, include background music, and much more. By taking advantage of these editing tools, you can transform your simple screen recording into a polished, professional-looking video.
Screen recording on iPhone isn't just for tech support or tutorials. There are numerous creative and practical ways to use this feature in your daily life. Here are some ideas to inspire you:
1. Game Replays: If you're an avid mobile gamer, screen recording is perfect for capturing your best moments or entire gameplay sessions. Whether you want to show off your high score in Tiny Fishing or demonstrate a complex strategy in a strategy game, screen recording makes it easy to share your gaming prowess with friends or online communities.
2. Social Media Content: Screen recording can be a great tool for creating engaging social media content. You could record yourself browsing through a photo album to share memories, or capture a series of text messages to tell a story in a unique way.
3. App Demonstrations: If you've discovered a cool new app or a hidden feature in an existing one, use screen recording to show others how it works. This can be especially useful for less tech-savvy friends or family members who might need a visual guide.
4. Troubleshooting: When you're experiencing an issue with your iPhone, recording your screen can help you document the problem. This can be invaluable when seeking help from Apple Support or tech-savvy friends.
5. Educational Content: Teachers and students alike can benefit from screen recording. Create quick lessons, demonstrate how to use educational apps, or record presentations for later review.
6. Work Productivity: In a professional setting, screen recording can be used to create quick how-to guides for colleagues, document processes for training purposes, or capture important information from video calls.
7. Artistic Expression: Some artists use screen recording as a medium for digital art. By recording the process of creating digital artwork, you can share your techniques and inspire others.
8. Cooking and Recipe Sharing: While not immediately obvious, screen recording can be great for sharing recipes. Record yourself scrolling through a recipe app or website, highlighting key ingredients and steps.
9. Travel Planning: When planning a trip, you might find yourself jumping between various apps and websites. Screen recording allows you to capture all this information in one video, making it easy to review later or share with travel companions.
10. Fitness Tracking: If you use fitness apps on your iPhone, screen recording can help you document your progress over time. Record your daily stats, workout summaries, or nutrition logs to keep yourself motivated and accountable.
The possibilities for screen recording are virtually endless. As you become more comfortable with the feature, you'll likely discover even more creative ways to use it in your daily life. Remember, the key is to experiment and find ways that screen recording can enhance your iPhone experience and make your life easier or more fun.
Read more: Use iPhone's Hidden Trackpad for Easier Text Editing
While screen recording on iPhone is generally straightforward, you might encounter some issues. Here are some common problems and their solutions:
1. Screen Recording Button Not Appearing: If you can't find the Screen Recording button in your Control Center, make sure you've added it as described earlier in this article. If it's still not appearing, try restarting your iPhone.
2. Unable to Start Recording: If tapping the Screen Recording button doesn't start a recording, check if any apps are blocking screen recording. Some apps, particularly those with sensitive content, may prevent screen recording.
3. No Sound in Recording: If your recording doesn't have sound, make sure you haven't muted your device. Also, check if you've enabled microphone audio if you want to include your voice.
4. Recording Stops Unexpectedly: This could be due to low storage space on your device. Try freeing up some space and try again. Also, ensure your iPhone isn't overheating, as this can cause issues with screen recording.